Moz 1 MuJoCo Simulation Platform Tutorial
MuJoCo is an open-source physics engine commonly used for robot simulation, including dynamic modeling and control testing of humanoid robots. 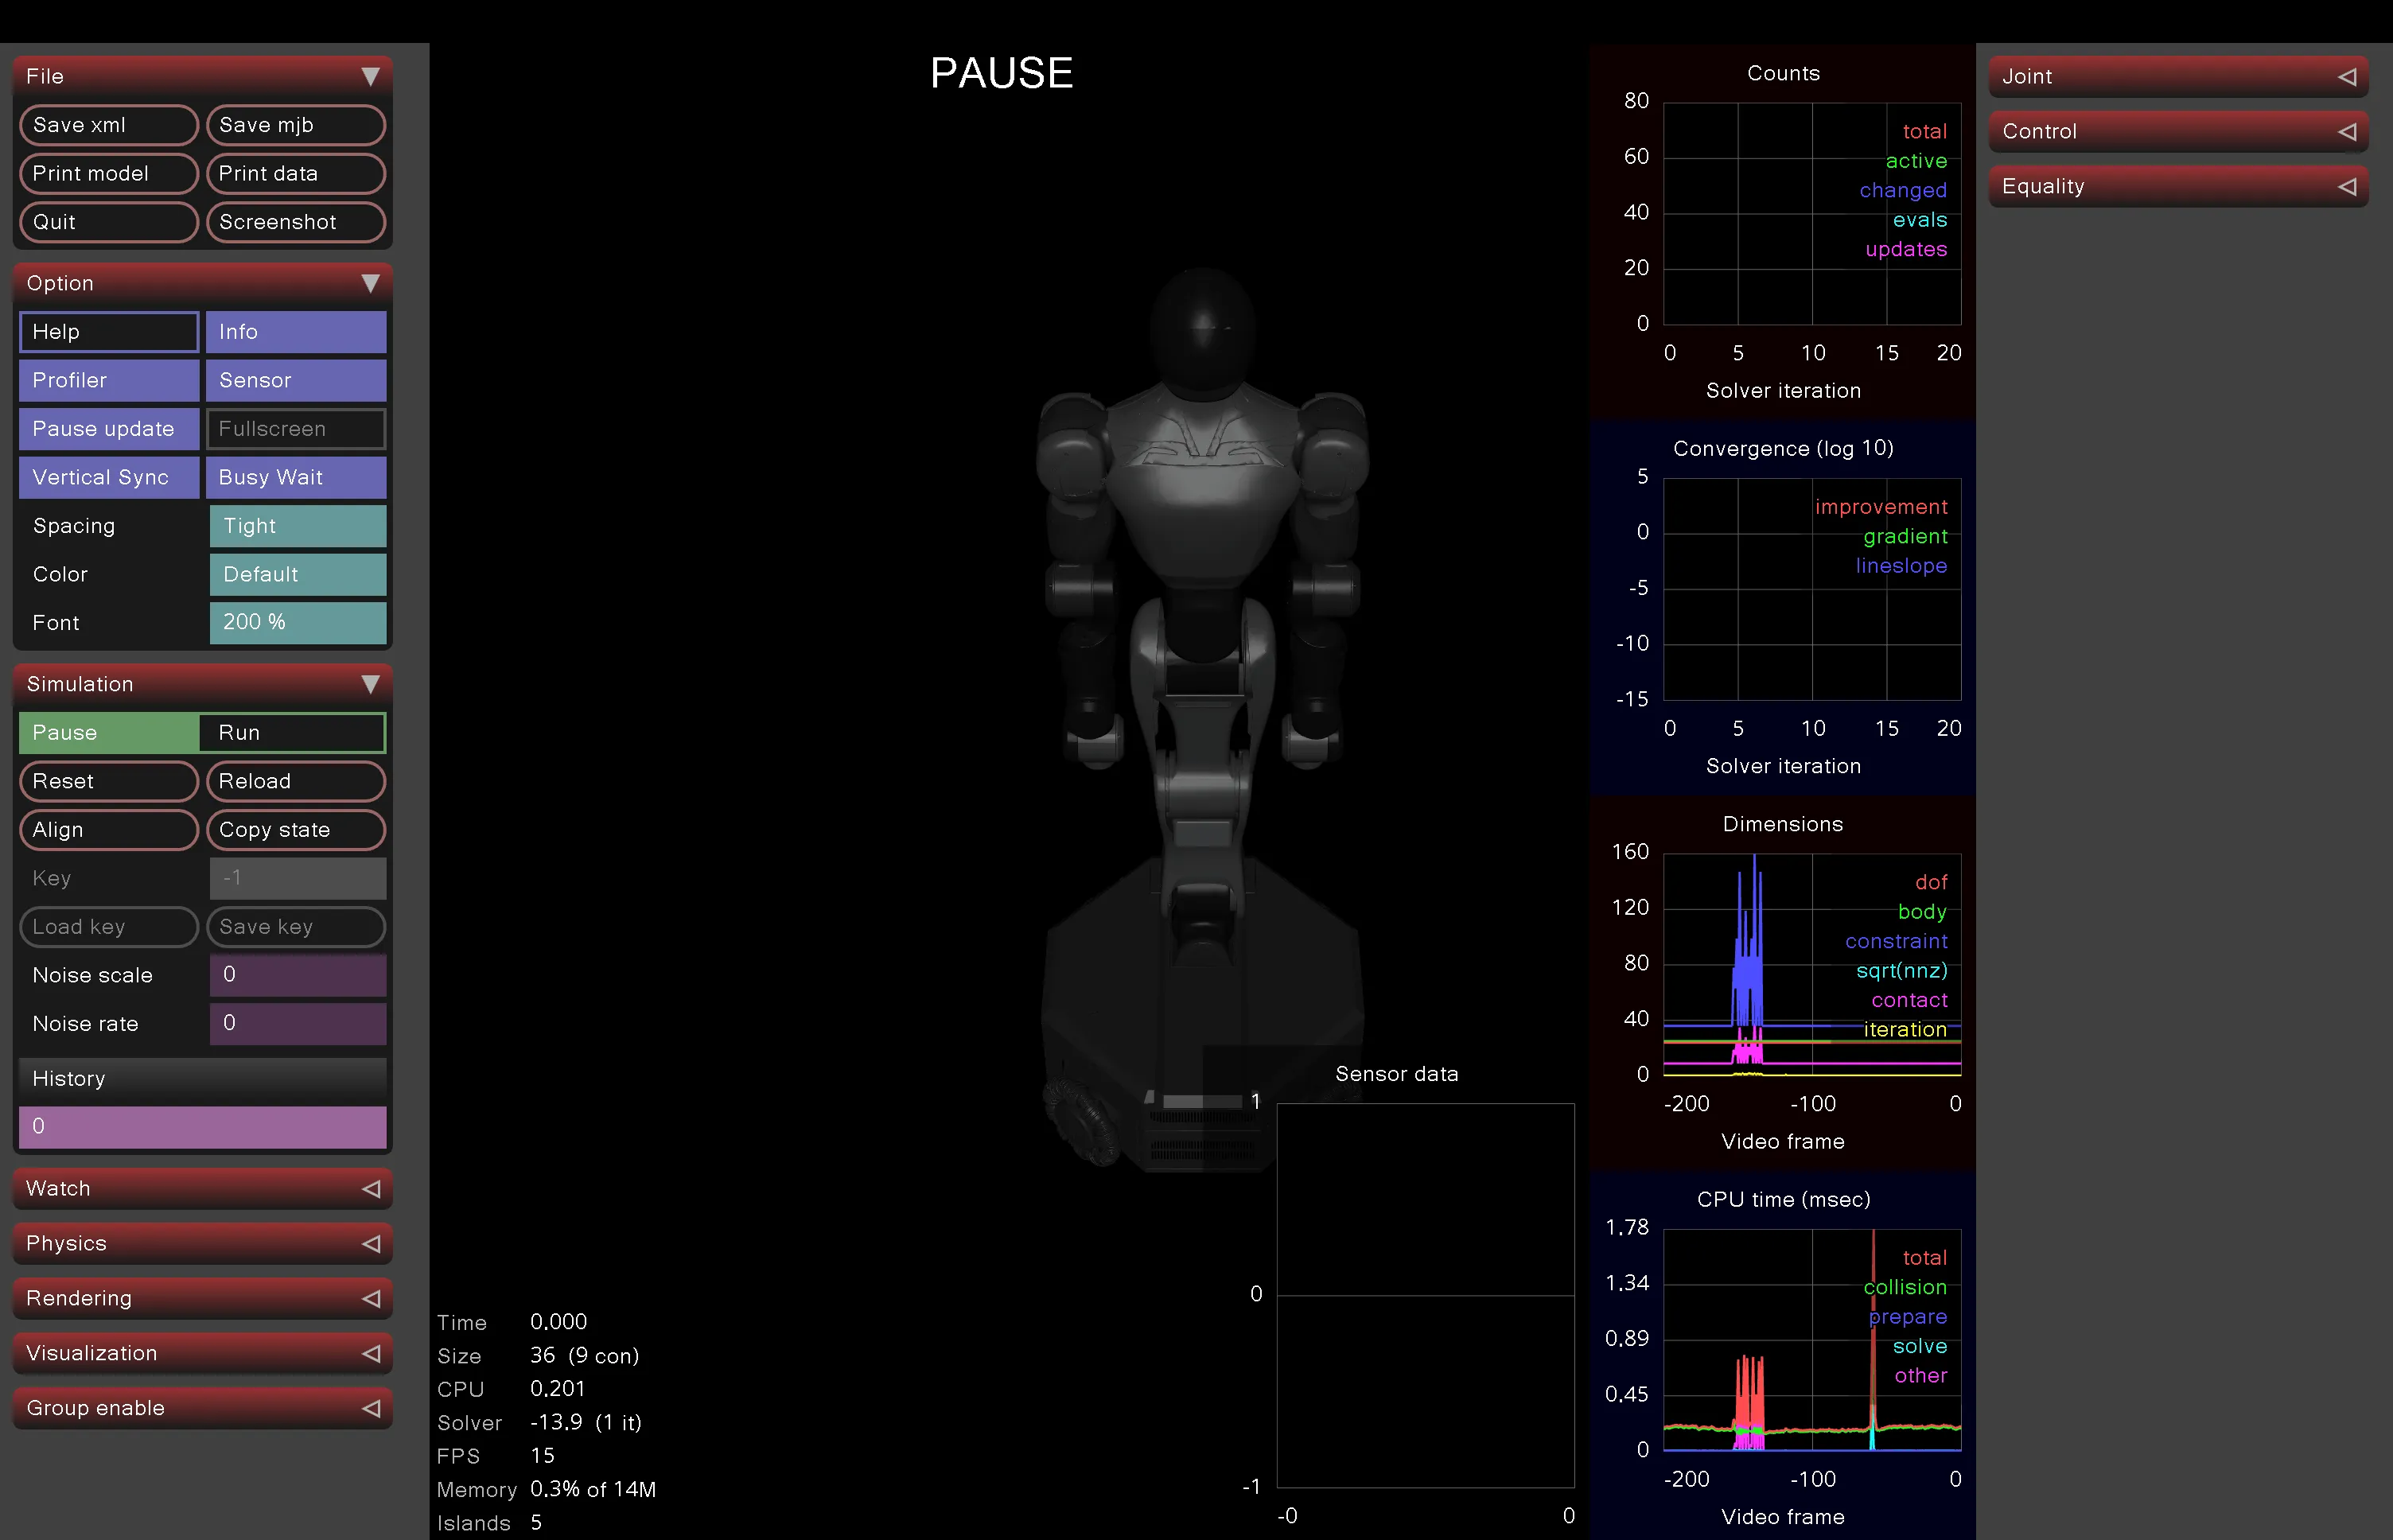
1. Installing MuJoCo and Related Dependencies
1.1 Install MuJoCo and Related Dependencies
MuJoCo is open source (maintained by DeepMind) and supports Python bindings. Ensure your environment is Python 3.9+.
pip install mujocoThis will install MuJoCo's core library and Python bindings (version 3.x recommended, supports MJX acceleration).
1.2 Install Additional Tools (for model conversion and visualization):
pip install numpy matplotlib dm_control  # dm_control for Gym-like environment
pip install urdf2mjcf # If you have URDF files, for converting to MJCF (MuJoCo XML format)dm_control: Provides a high-level interface for MuJoCo, making it easy to load and control robots.
1.3 Verify Installation:
Run a simple script to test:
import mujoco
print(mujoco.__version__)  # Should output 3.x
2. Obtaining Moz 1 Model Files
2.1 URDF Files (common for ROS integration):
- Use the
urdf2mjcftool to convert:
from urdf2mjcf import urdf_to_mjcf
urdf_to_mjcf('moz1.urdf', 'moz1.xml') # Output MJCF file- URDF typically includes joint definitions, mass, inertia, etc. Ensure it includes 26 DOF (legs, arms, torso, etc.).
3. Loading and Simulating Moz 1 in MuJoCo
Use Python scripts to load the model and run simulations.
3.1 Basic Loading and Visualization:
import mujoco
import mujoco.viewer

# Load MJCF model
model = mujoco.MjModel.from_xml_path('moz1.xml')  # Your MJCF file
data = mujoco.MjData(model)

# Run visualizer
with mujoco.viewer.launch_passive(model, data) as viewer:
    while viewer.is_running():
        mujoco.mj_step(model, data)  # Physics step
viewer.sync() # Sync rendering- This will open a window showing the static robot. You can interact with the mouse (drag joints).
3.2. Adding Control (e.g., simple PD controller to simulate walking):
Use
dm_controlto create an environment:pythonfrom dm_control import suite # If custom, inherit suite.LoadActionableModel env = suite.load(domain_name='moz1', task_name='stand') # Custom task time_step = env.physics.time() # Get time step action_spec = env.action_spec() for _ in range(1000): # Simulate 1000 steps action = env.action_spec().generate_random_action() # Random action time_step = env.step(action) print(f"Qpos: {time_step.observation['position']}")For force control: Set
data.ctrlto torque values to simulate Moz 1's biomechanical control.
3.3 Advanced Simulation:
- Task Integration: Use MuJoCo Playground to train policies:
pip install playground- Example: Train a joystick controller (similar to T1 humanoid robot):
from mujoco_playground import locomotion
# Load Moz 1 model, train joystick policy
task = locomotion.tasks.JoystickTask(model_path='moz1.xml')
# Training loop (using JAX/MJX acceleration)- Reference GitHub: https://github.com/google-deepmind/mujoco_playground
- Sim-to-Real: Add noise (
mujoco.mj_noise) to simulate real force control uncertainty.
4. Common Issues and Optimization
- Performance: Moz 1's 26 DOF may cause high computational load. Use MJX (
pip install mujoco[mjx]) for GPU acceleration. - Visualization: Integrate Blender or Matplotlib for custom view rendering.
- Debugging: Check if joint ranges (
model.jnt.range) match Moz 1 specifications.